Search This Blog

Showing posts with label gifts. Show all posts

Monday, February 28, 2011

Painted Wooden Letter Ribbon Bow Holder

Could I have made the title of this post any longer? Geesh!
If you are like this mom of pretty girls, you have an over abundance of hairbows falling out of drawers
 and baskets in your house. These bows are far too cute to keep stashed away so we decided to make a place to display them.We have two girls, ages 11 yrs and 11 months,
 so I chose a Capital M and a Lower-case m, M & m ;)

 Here is what you need:
1 wooden letter
Craft paint in your desired colors
Hot glue
Ribbon
Command Adhesive hook

First, paint your letters to match your room decor. Next, use hot glue to attach the precut ribbon to the reverse of the painted wooden letter, making a loop at the top of the letter with ribbon. A tail of ribbon should extend down the back of the letter. Then, attach your command strip to the wall or door where you will display your ribbons and follow package directions to attach the hook. Now you are ready to hang your bow holder!

Sunday, December 19, 2010

Star Wars Clothes Pin People

That's Yoda, Chewbacca, C3PO, Vader, Han, and Luke
I made these little clothes pin people with my son for another son for Christmas. I am having the kids make special gifts for each other this year. They are all old enough finally(except the baby) to participate so we have been working on this for about two weeks a little at a time. Today was Logan's turn to try. He did a pretty good job, I think. I particularly like Yoda, but they are all pretty neat!

A Christmas EVE for a special girl!

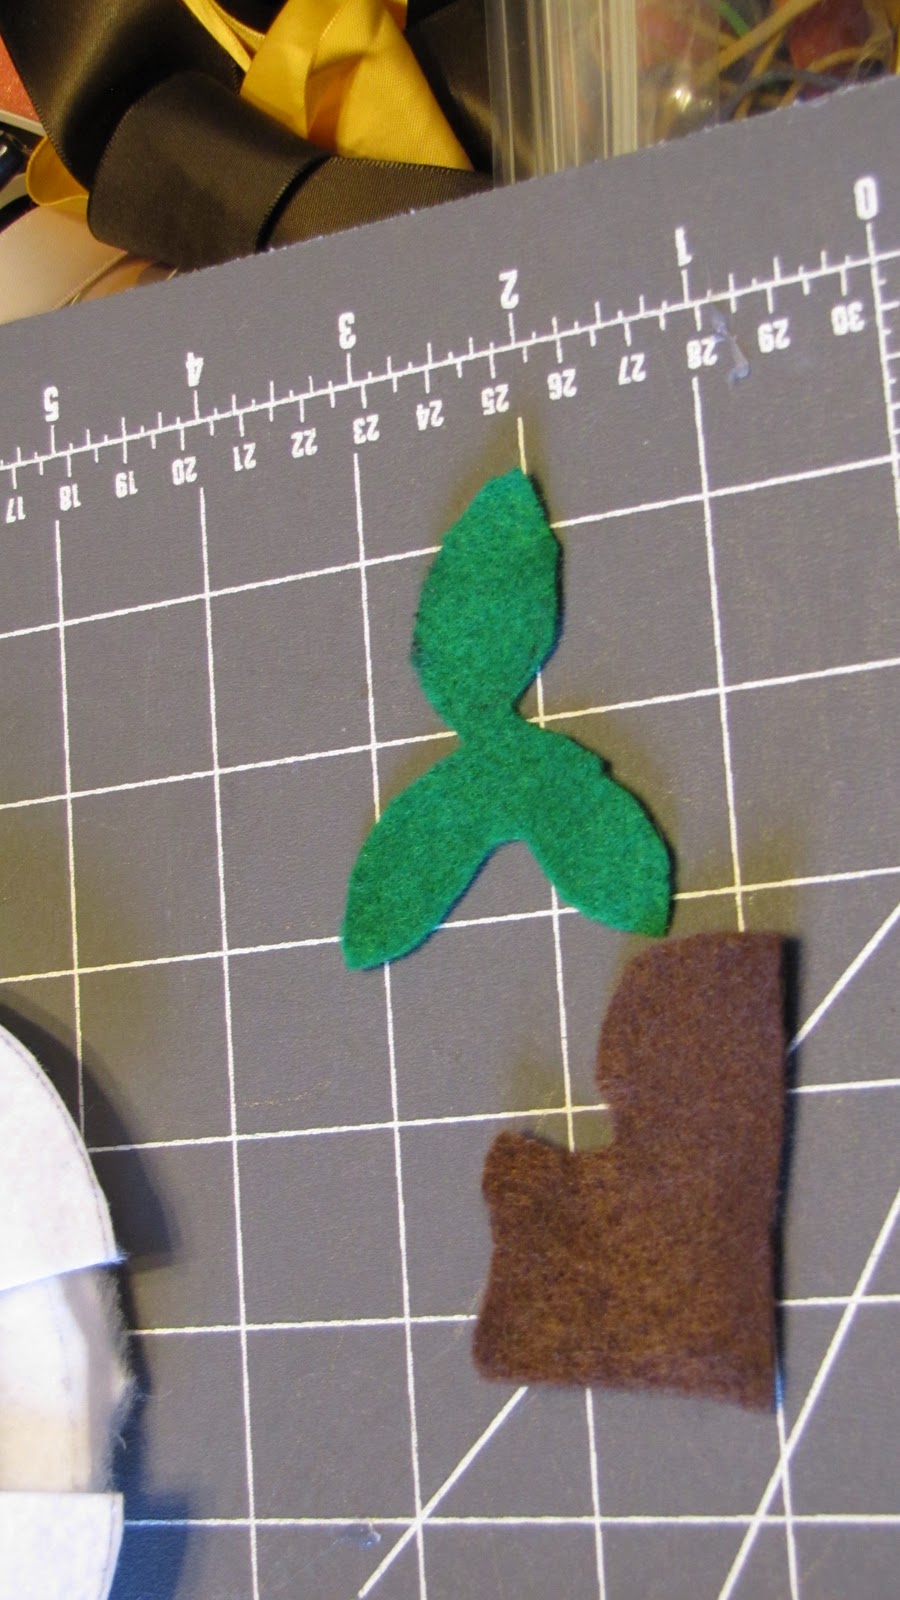
I have been trying to make this little plush toy for my neice for weeks. I saw a wonderful tutorial on Happy Together here. I attempted. I failed. miserably. It wasn't the tutorial. It was my crummy sewin'. So, I decided to come up with my own simplified version to suit the sewing skills I have now, otherwise we might be waiting till next year for EVE. So, here I give to you, the Felt EVE with Directive(that's the little plant in the boot, y'all).


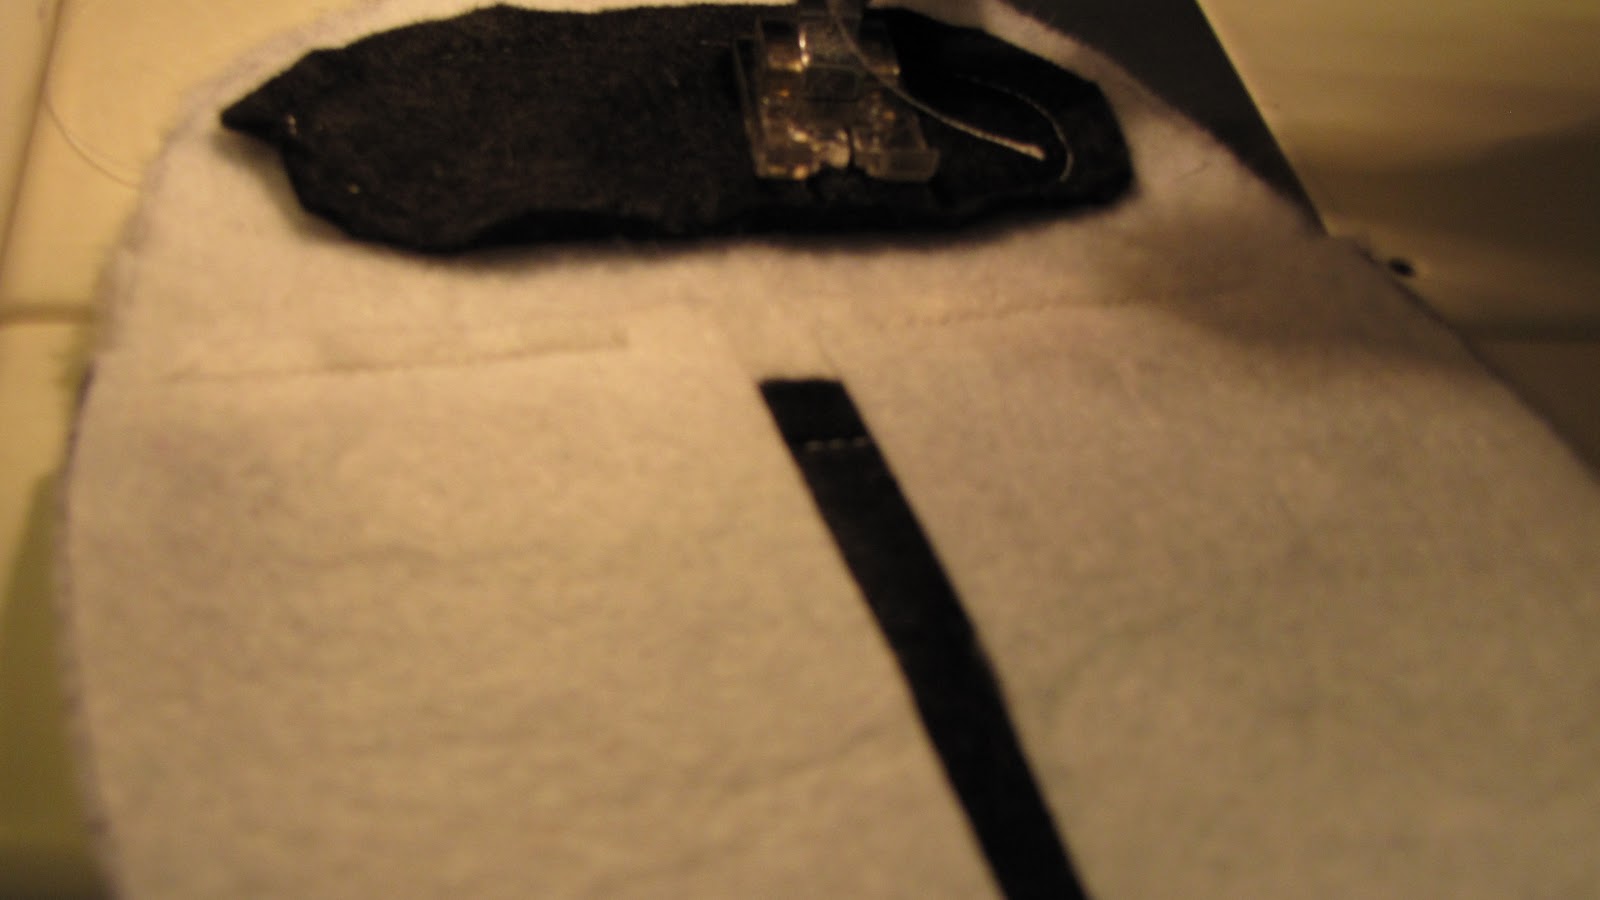
I simply cut ot felt pieces in the selected colors using an oval lid. I stitched on the outside instead of turning the whole thing. I trimmed away the excess after I was finished. I trimmed a little more than the last picture but my daughter was eager to wrap something, anything, and she snatched it up and wrapped it before I made any more pictures. ;) I hope you can follow the photos. If not, feel free to leave me a question in the comments and I will answer as best I can. I know you can make one of these and probably a lot prettier than mine ; /  I'd love to see it if you do!